|
DIY Screens
DIY Install & Order Guide
DIY-Friendly Magnetic Insect ScreensA simple, effective way to keep your home bug-free while letting the fresh air in. This guide walks you through measuring, choosing your options, ordering, and installing your screen, start to finish, no tradesman required. 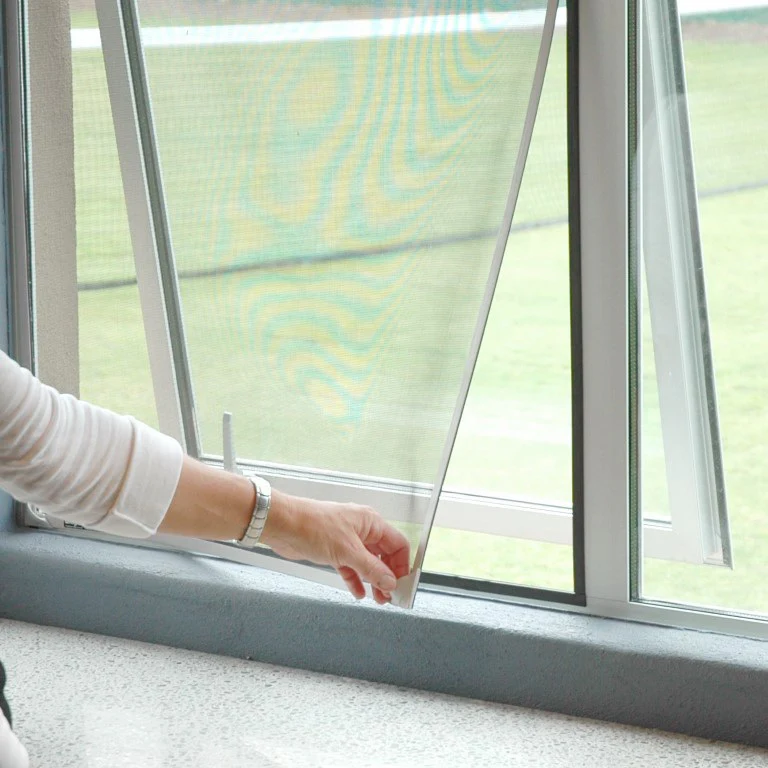
Before you start - what you'll need01A tape measure (work in millimetres)
02Isopropyl (rubbing) alcohol & a clean cloth
03Your made-to-measure screen & magnetic tape
04Sharp scissors or a craft knife (for trimming)
STEP 01
Measure your openingYour screen is built to the exact size you supply, so accuracy here matters. The width and height you give are the overall size of the finished screen, measure to where the screen will actually sit, allowing flat surface for the magnets to stick to. 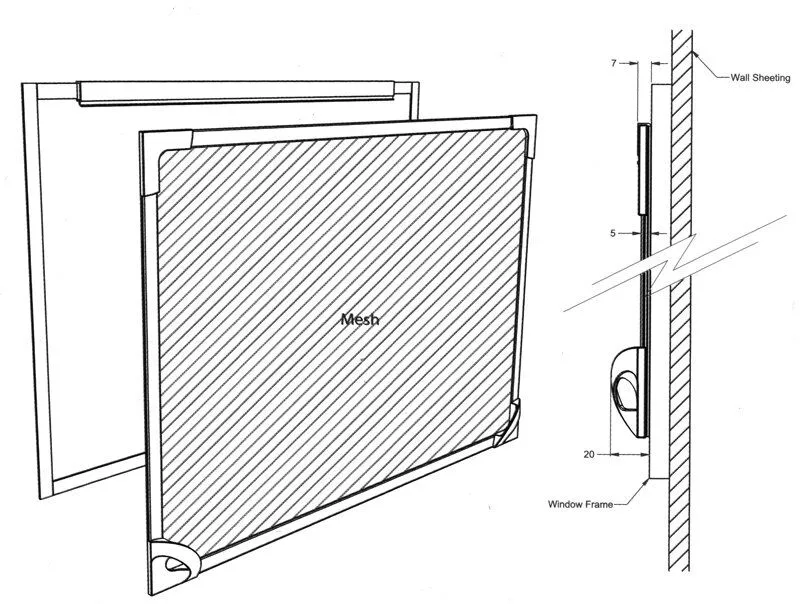
WidthMeasure from the outside edge to outside edge of where the screen will sit. This is the overall size of the supplied screen, leave surface for the magnets to grip. HeightMeasure from the top edge to the bottom edge, the overall measurement of where the screen will sit.
Measuring the daylight opening?
If you measure the daylight (glass) opening rather than the surface, add 26mm to both width and height, that's 2 x 13mm of frame each side (or 13mm top and 13mm bottom), to ensure a proper fit.
STEP 02
Choose your optionsFrame colourAvailable in a range of select standard colours. Need a custom colour? You can add a powder-coat paint can to your order and we'll colour the screen during manufacturing. Note that painted fly-screen frames may chip or flake over time, so we recommend a standard colour where possible. Mesh typeThe standard charcoal 18 x 14 insect mesh suits 98% of applications and is the right choice for most homes. For areas with smaller insects such as midges, the finer-weave SOL1818 mesh is available, bear in mind its tighter weave reduces airflow slightly.
STEP 03
Place your orderWith your measurements and options ready, head to our supplier's order page to build your made-to-measure screen. Exclusive discount - use at checkout
CUSTOMER_DIRECT
Enter this coupon code on the supplier's checkout to claim your direct-customer discount.
STEP 04
Prep & clean the joineryThe single most important step for a screen that lasts. Before applying any magnetic tape, the surface must be spotless. ⚠ Clean with alcohol first - why it matters
Wipe the joinery with commercial isopropyl alcohol to remove dust, grease and residue before applying the magnetic strip. If the surface isn't cleaned thoroughly, the adhesive weakens over time and the screen can fall off within weeks or months. For a long-lasting bond: wipe the surface, let it dry completely, then apply firm pressure to the magnet.
STEP 05
Apply the magnetic tapeProper installation of the magnetic tape is crucial for the screen to function correctly. Polarity matters. ✓ Keep the order it came in
The magnetic tape is pre-aligned for accuracy when you receive it. Install it in the same order to maintain correct polarity. ✗ Do not flip or reverse the tape
Flipping it stops the screen sitting squarely and may weaken its attachment to the frame. 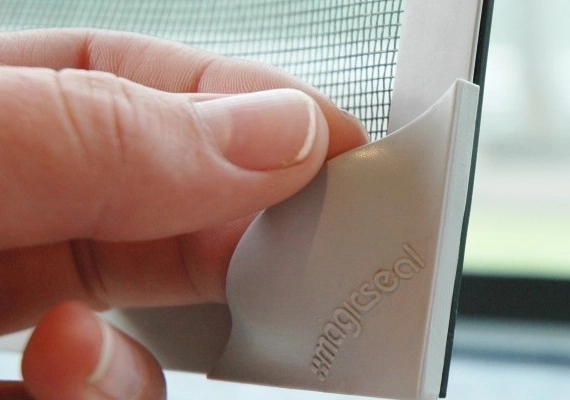
Troubleshooting
No flat surface for the magnet to stick to?This is common with sliding-door windows where there's no surface for the magnet to adhere to. The fix is a plastic angle, available from our supplier with double-sided tape pre-applied on one side.
Want it colour-matched? Add a can of paint to your screen order. Painting plastic looks great, though the paint may begin to flake before the screen itself needs replacing. Prefer we handle it?Our products are custom-built to suit your space. If you'd rather not DIY, the Phantom Screens team can measure and install for you, just get in touch. 01 / Initial quote
Share your requirements or request a callback from our friendly team. 02 / Measuring up
We pop by to take precise measurements for a perfect fit every time. 03 / Installation
Trained installers set everything up at a time that suits you.
Call us free on
0800 88 12 12
phantomscreens.co.nz
|